Compliance & Deliverability
Built-in tools to maintain sender reputation, comply with CAN-SPAM and GDPR requirements, and ensure your emails reach the inbox.
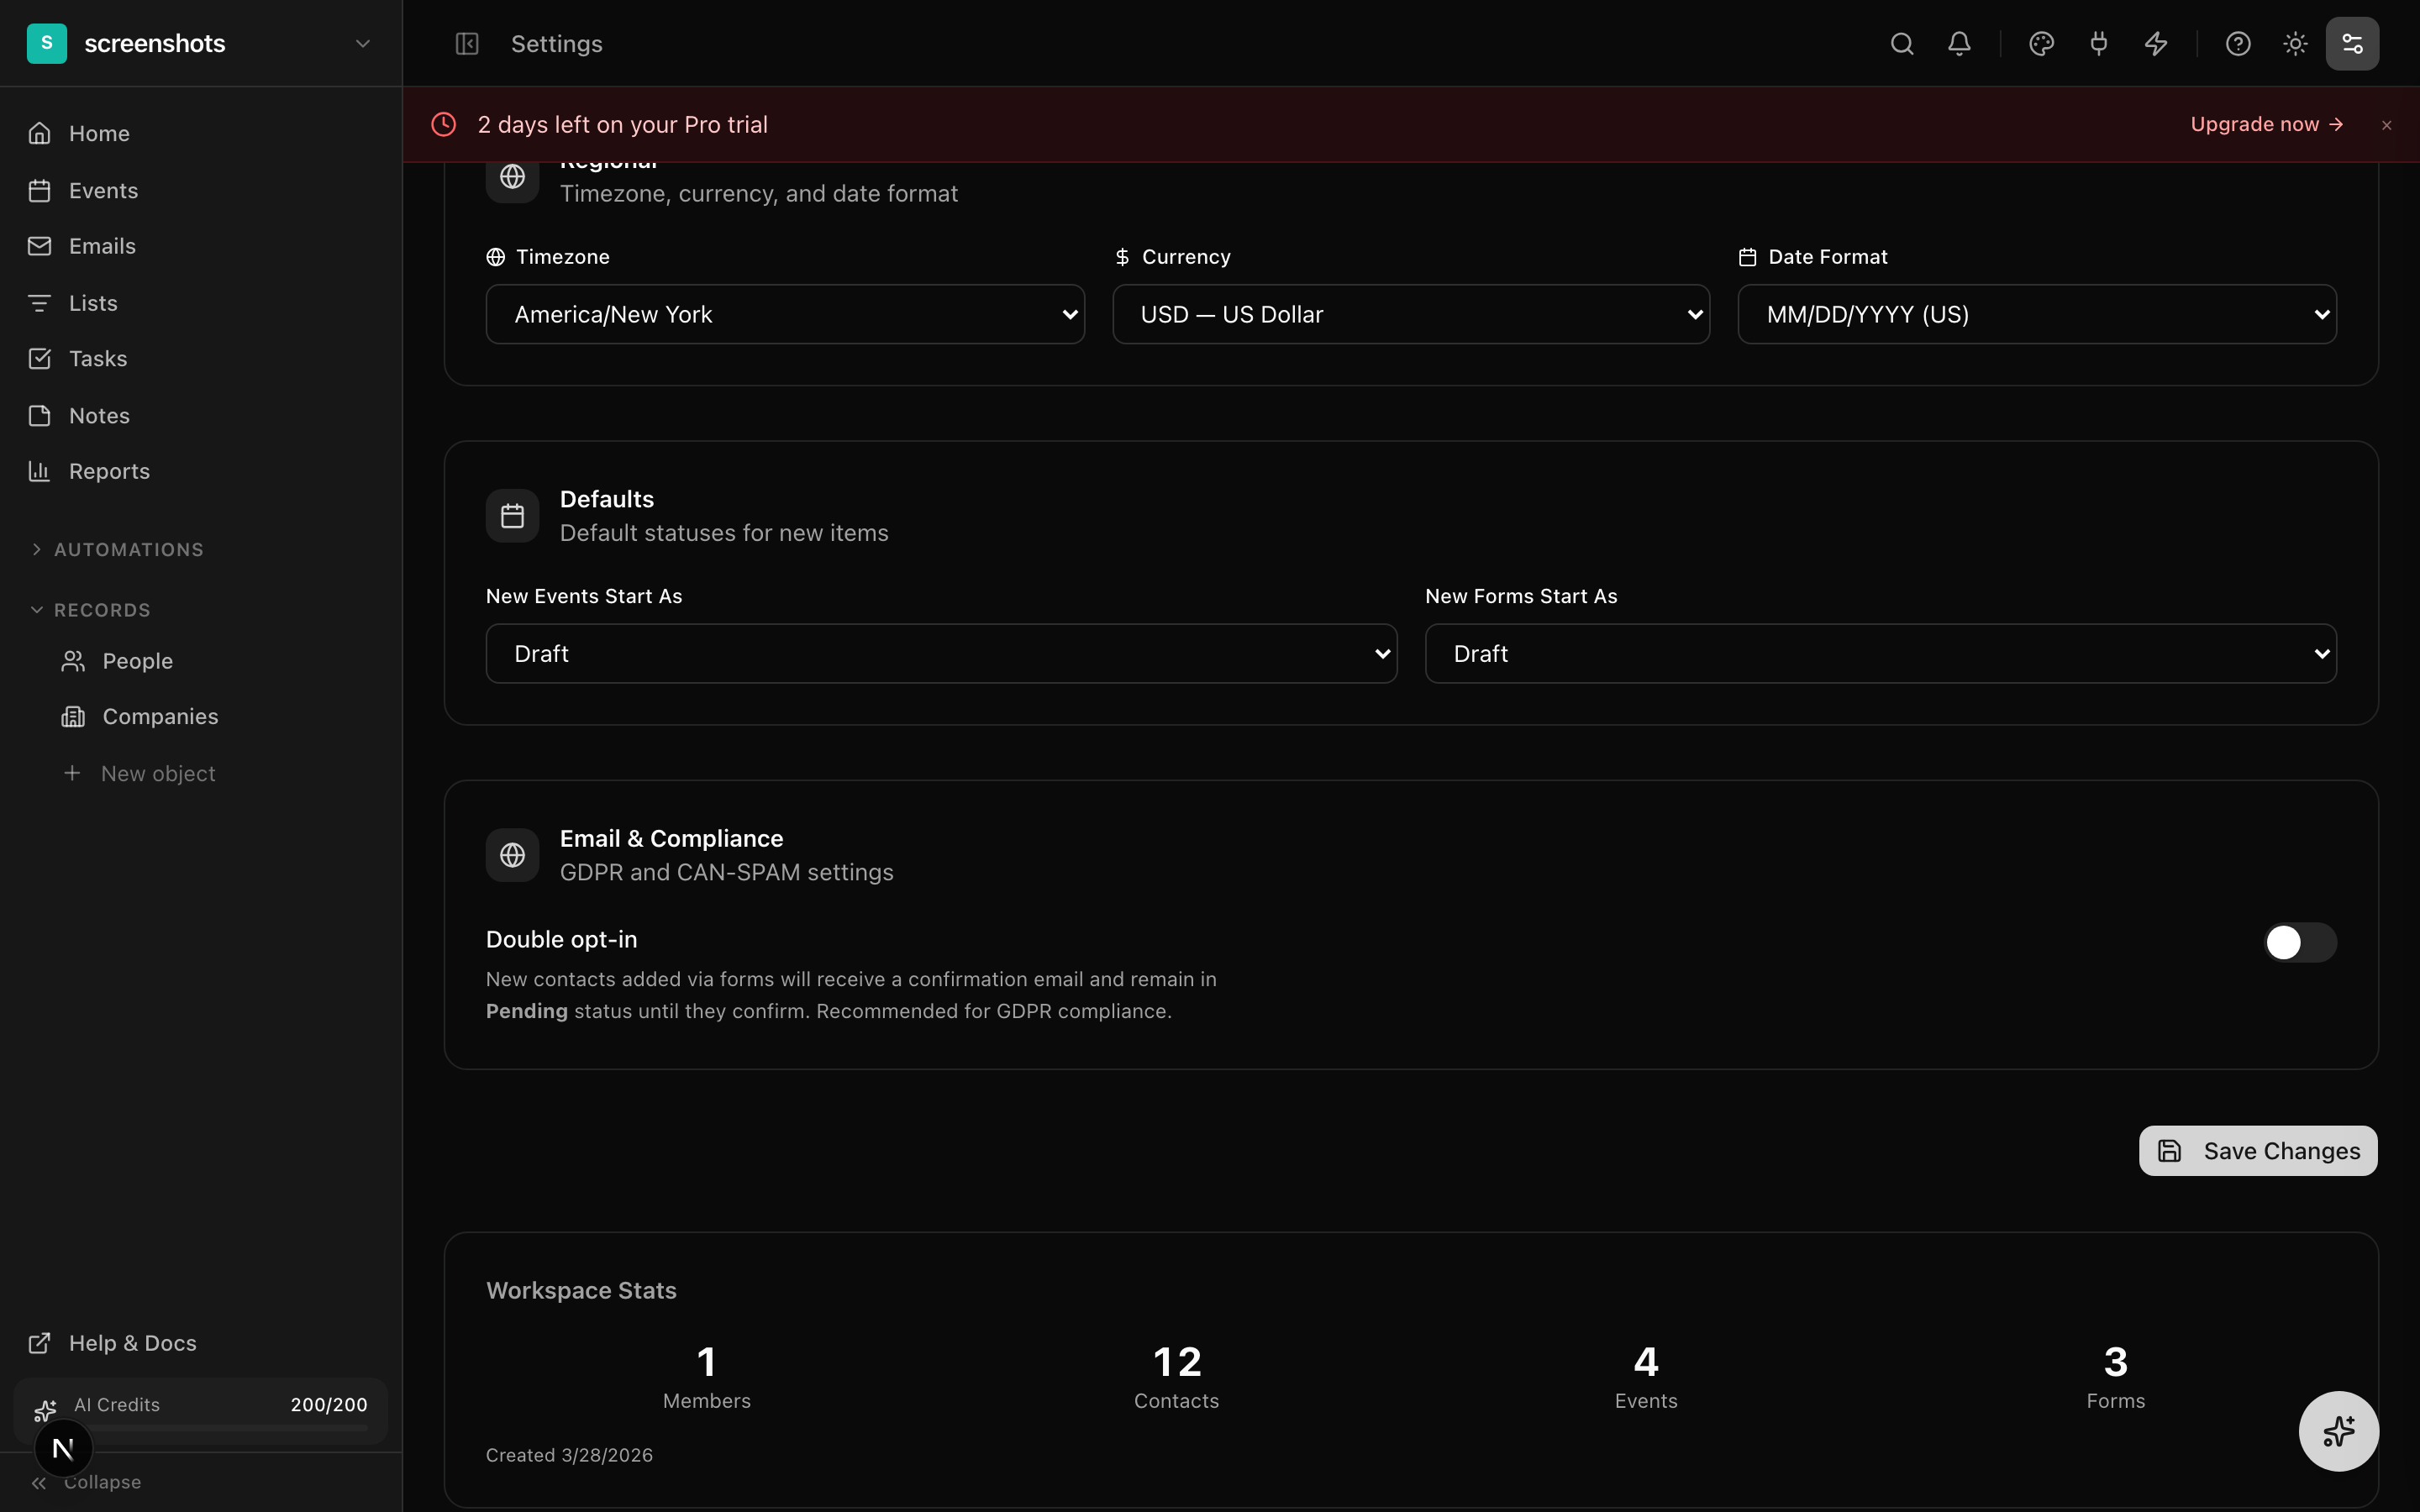
Double Opt-In
Double opt-in adds a confirmation step before new contacts become active subscribers. This protects your sender reputation by ensuring only people who genuinely want your emails receive them.
How to Enable Double Opt-In
- Go to Settings → General → Email & Compliance.
- Toggle "Require double opt-in" to on.
- Optionally customize the confirmation email subject line and body text.
- Click Save.
How the Flow Works
- A new person is created via form submission, import, or API. Their status is set to "Pending."
- A branded confirmation email is sent automatically with a unique confirmation link.
- The person clicks the link and is redirected to a confirmation page. Their status changes to "Active."
- If the link is not clicked within 7 days, the person remains in "Pending" status and is excluded from all campaign sends.
Send Limits and Content Screening
Monthly Send Limits
Each plan includes a monthly email send limit:
- Free — 500 emails per month
- Pro — 10,000 emails per month
- Business — 50,000 emails per month
Send limits reset on your billing cycle date. If a campaign send would exceed your remaining limit, the Send button is disabled and an upgrade prompt appears. Monitor your current usage in Settings → Billing.
Automated Content Screening
Before every send, Modality automatically scans your email content for issues that could hurt deliverability:
- Spam trigger words — flags phrases like "free," "act now," "limited time offer," "click here" that are known to trigger spam filters
- Missing unsubscribe link — required by CAN-SPAM and GDPR; blocks sending if absent
- ALL CAPS subject line — subjects written entirely in uppercase are flagged
- Excessive punctuation — more than 3 consecutive exclamation marks or question marks
- Low text-to-image ratio — emails that are mostly images with little text perform poorly with spam filters
- Broken merge tags — merge tags that do not match any field in your schema
Issues are displayed in the pre-send review dialog with severity levels (warning or blocker). Warnings can be dismissed; blockers must be resolved before sending.
Deliverability Monitoring
Modality tracks your sender reputation using a 30-day rolling window of email engagement metrics. This data powers the health indicator shown in the pre-send review dialog.
Health Status Levels
- Green (Healthy) — bounce rate below 3% and spam complaint rate below 0.05%. You are in good standing.
- Amber (Caution) — bounce rate between 3-5% or spam rate between 0.05-0.1%. Review your list hygiene and content quality.
- Red (Critical) — bounce rate above 5% or spam rate above 0.1%. Sending may be throttled or paused to protect your domain reputation.
Automatic Contact Management
Modality processes delivery webhooks from the sending provider (Resend) in real time:
- Hard bounces — the person's status is automatically changed to "Bounced" and they are excluded from future sends
- Spam complaints — the person is automatically unsubscribed
- Unsubscribe clicks — the person's status changes to "Unsubscribed" via the one-click unsubscribe mechanism
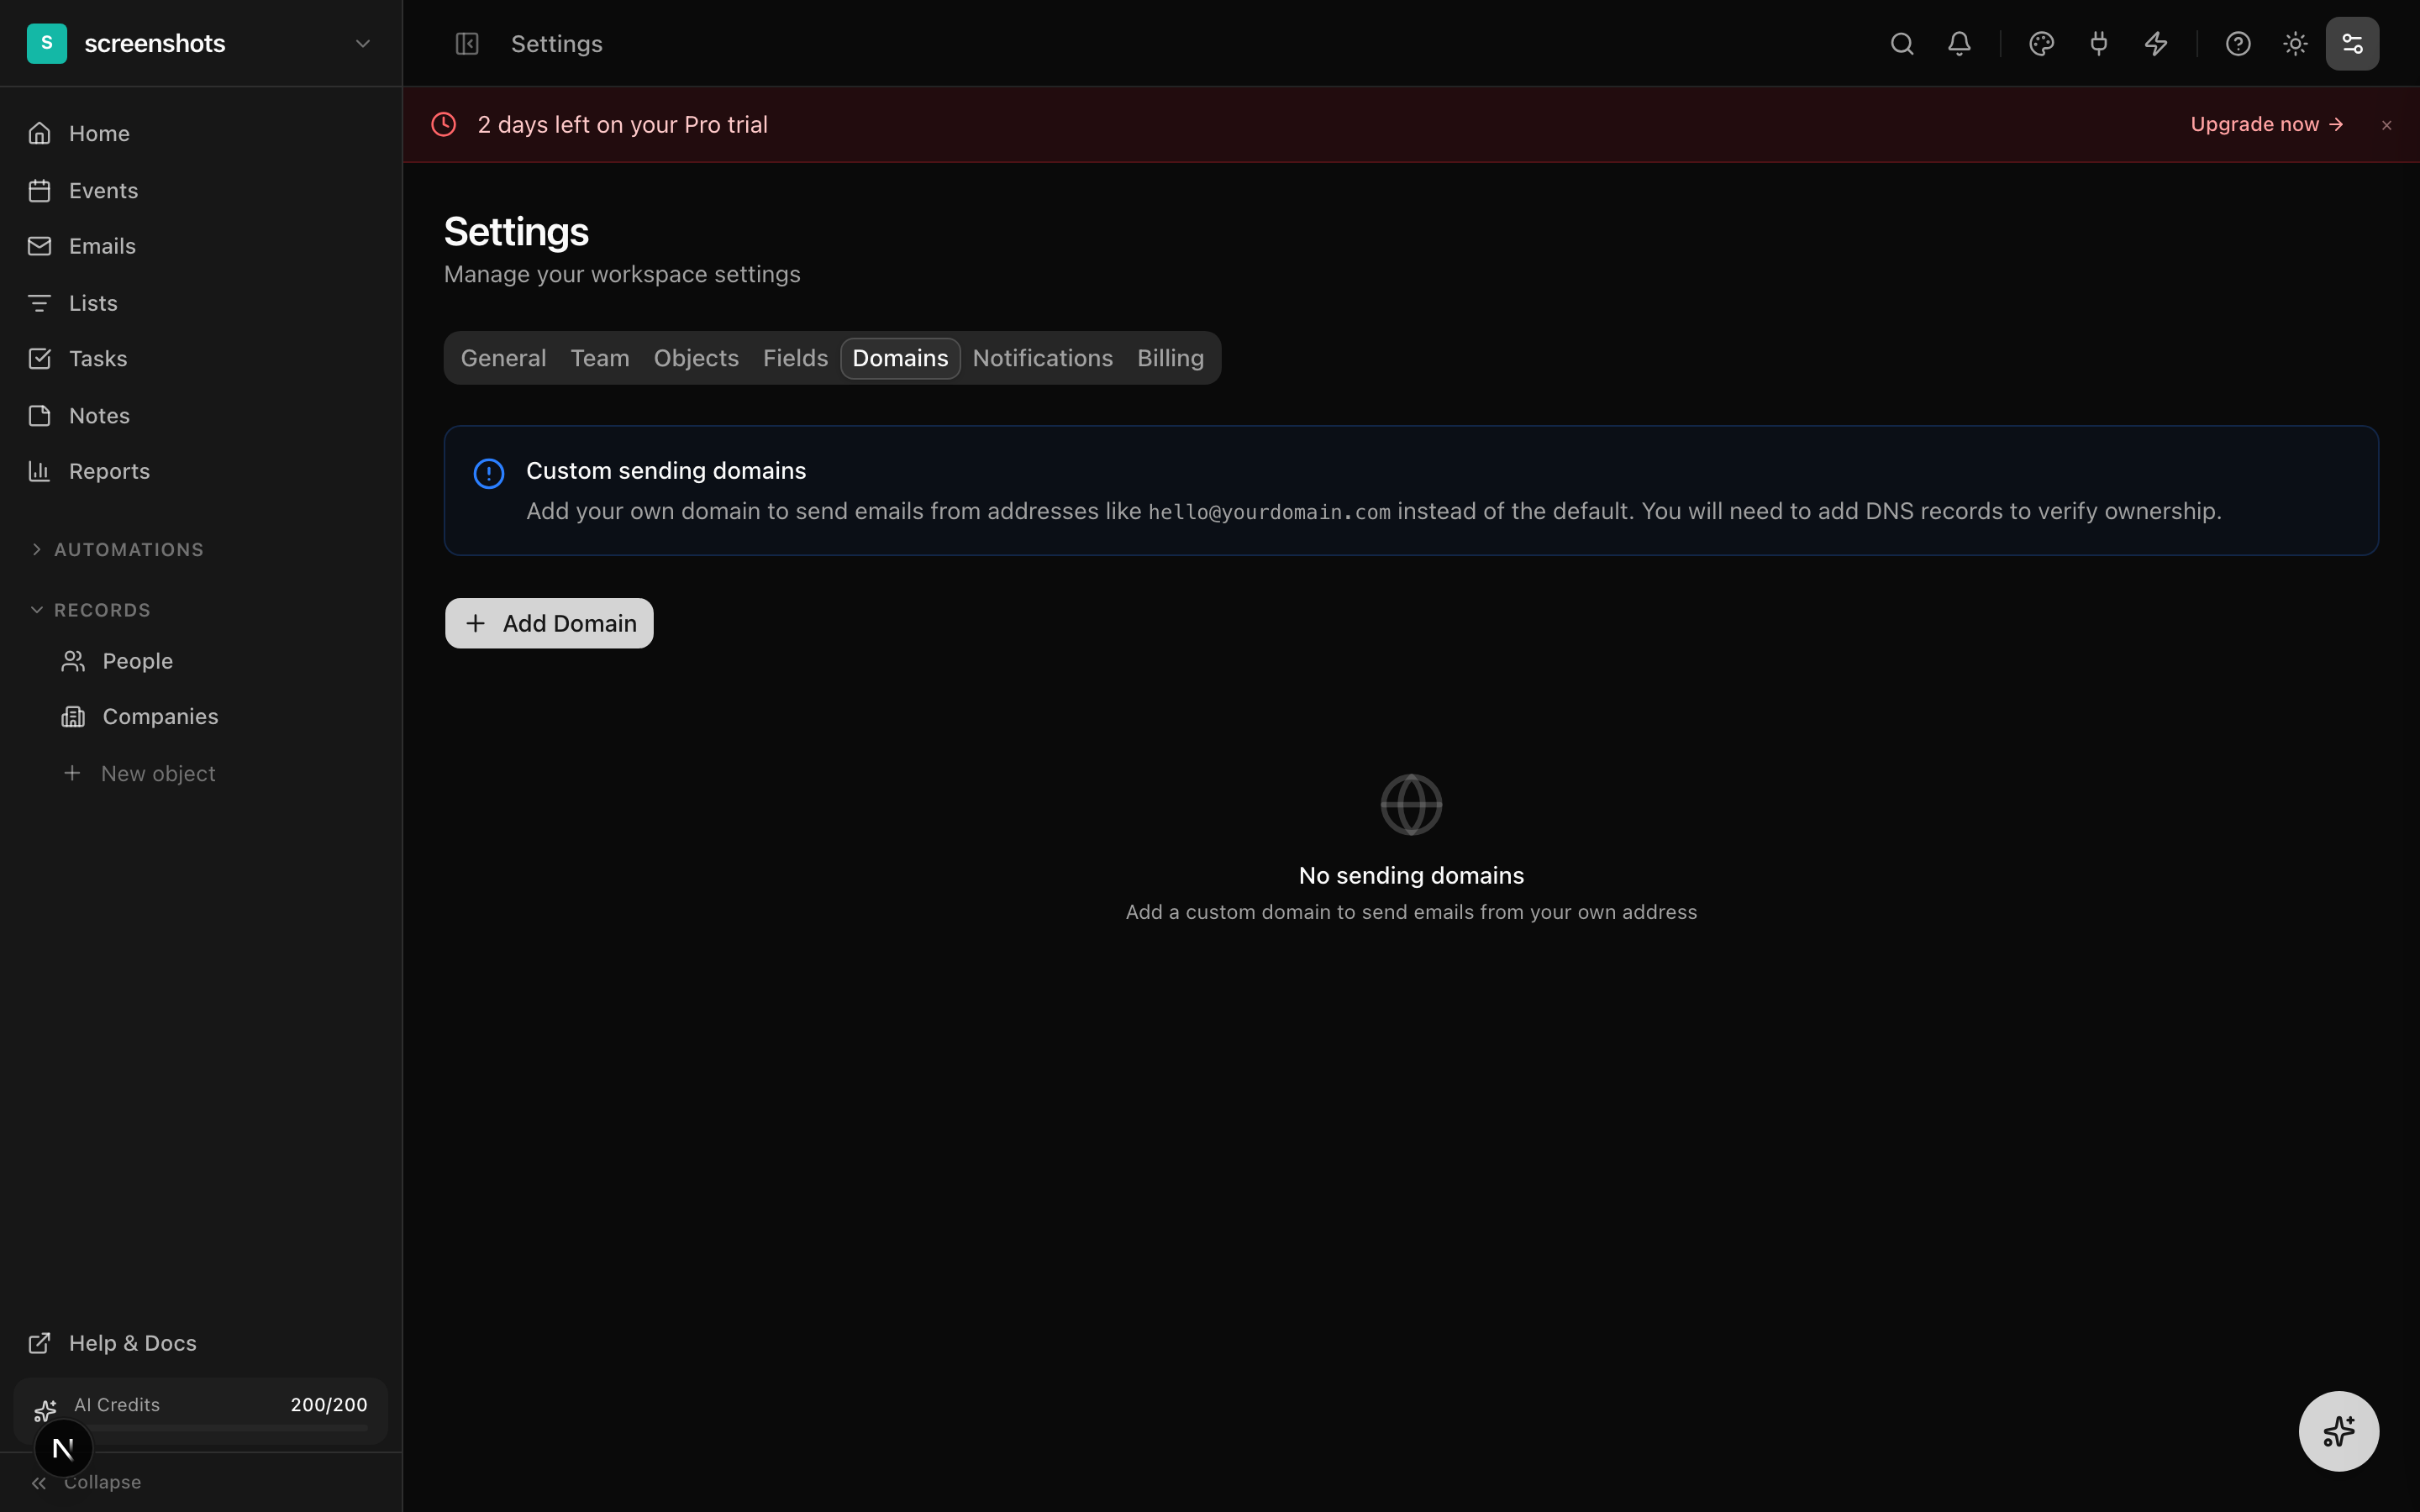
Custom Sending Domains
By default, emails send from the shared modalitystudio.com domain. For better deliverability and brand recognition, set up a custom sending domain.
How to Set Up a Custom Domain
- 1
Add your domain
Go to Settings → Domains and click "Add Domain." Enter the domain you want to send from (e.g., mail.yourbrand.com).
- 2
Configure DNS records
Modality provides the required DNS records: DKIM (two CNAME records), SPF (TXT record), and optionally DMARC. Add these records to your domain's DNS configuration.
- 3
Verify
Click "Verify" to check your DNS records. Verification typically takes a few minutes but may take up to 48 hours for DNS propagation. Each record shows a green checkmark when verified.
- 4
Start sending
Once verified, select your custom domain in the campaign's Sender section. Emails will now send from your domain with proper authentication.