Events & Ticketing
Create and manage events with full ticketing, checkout, public event pages, and QR code check-in. This guide covers every step from event creation to door management.

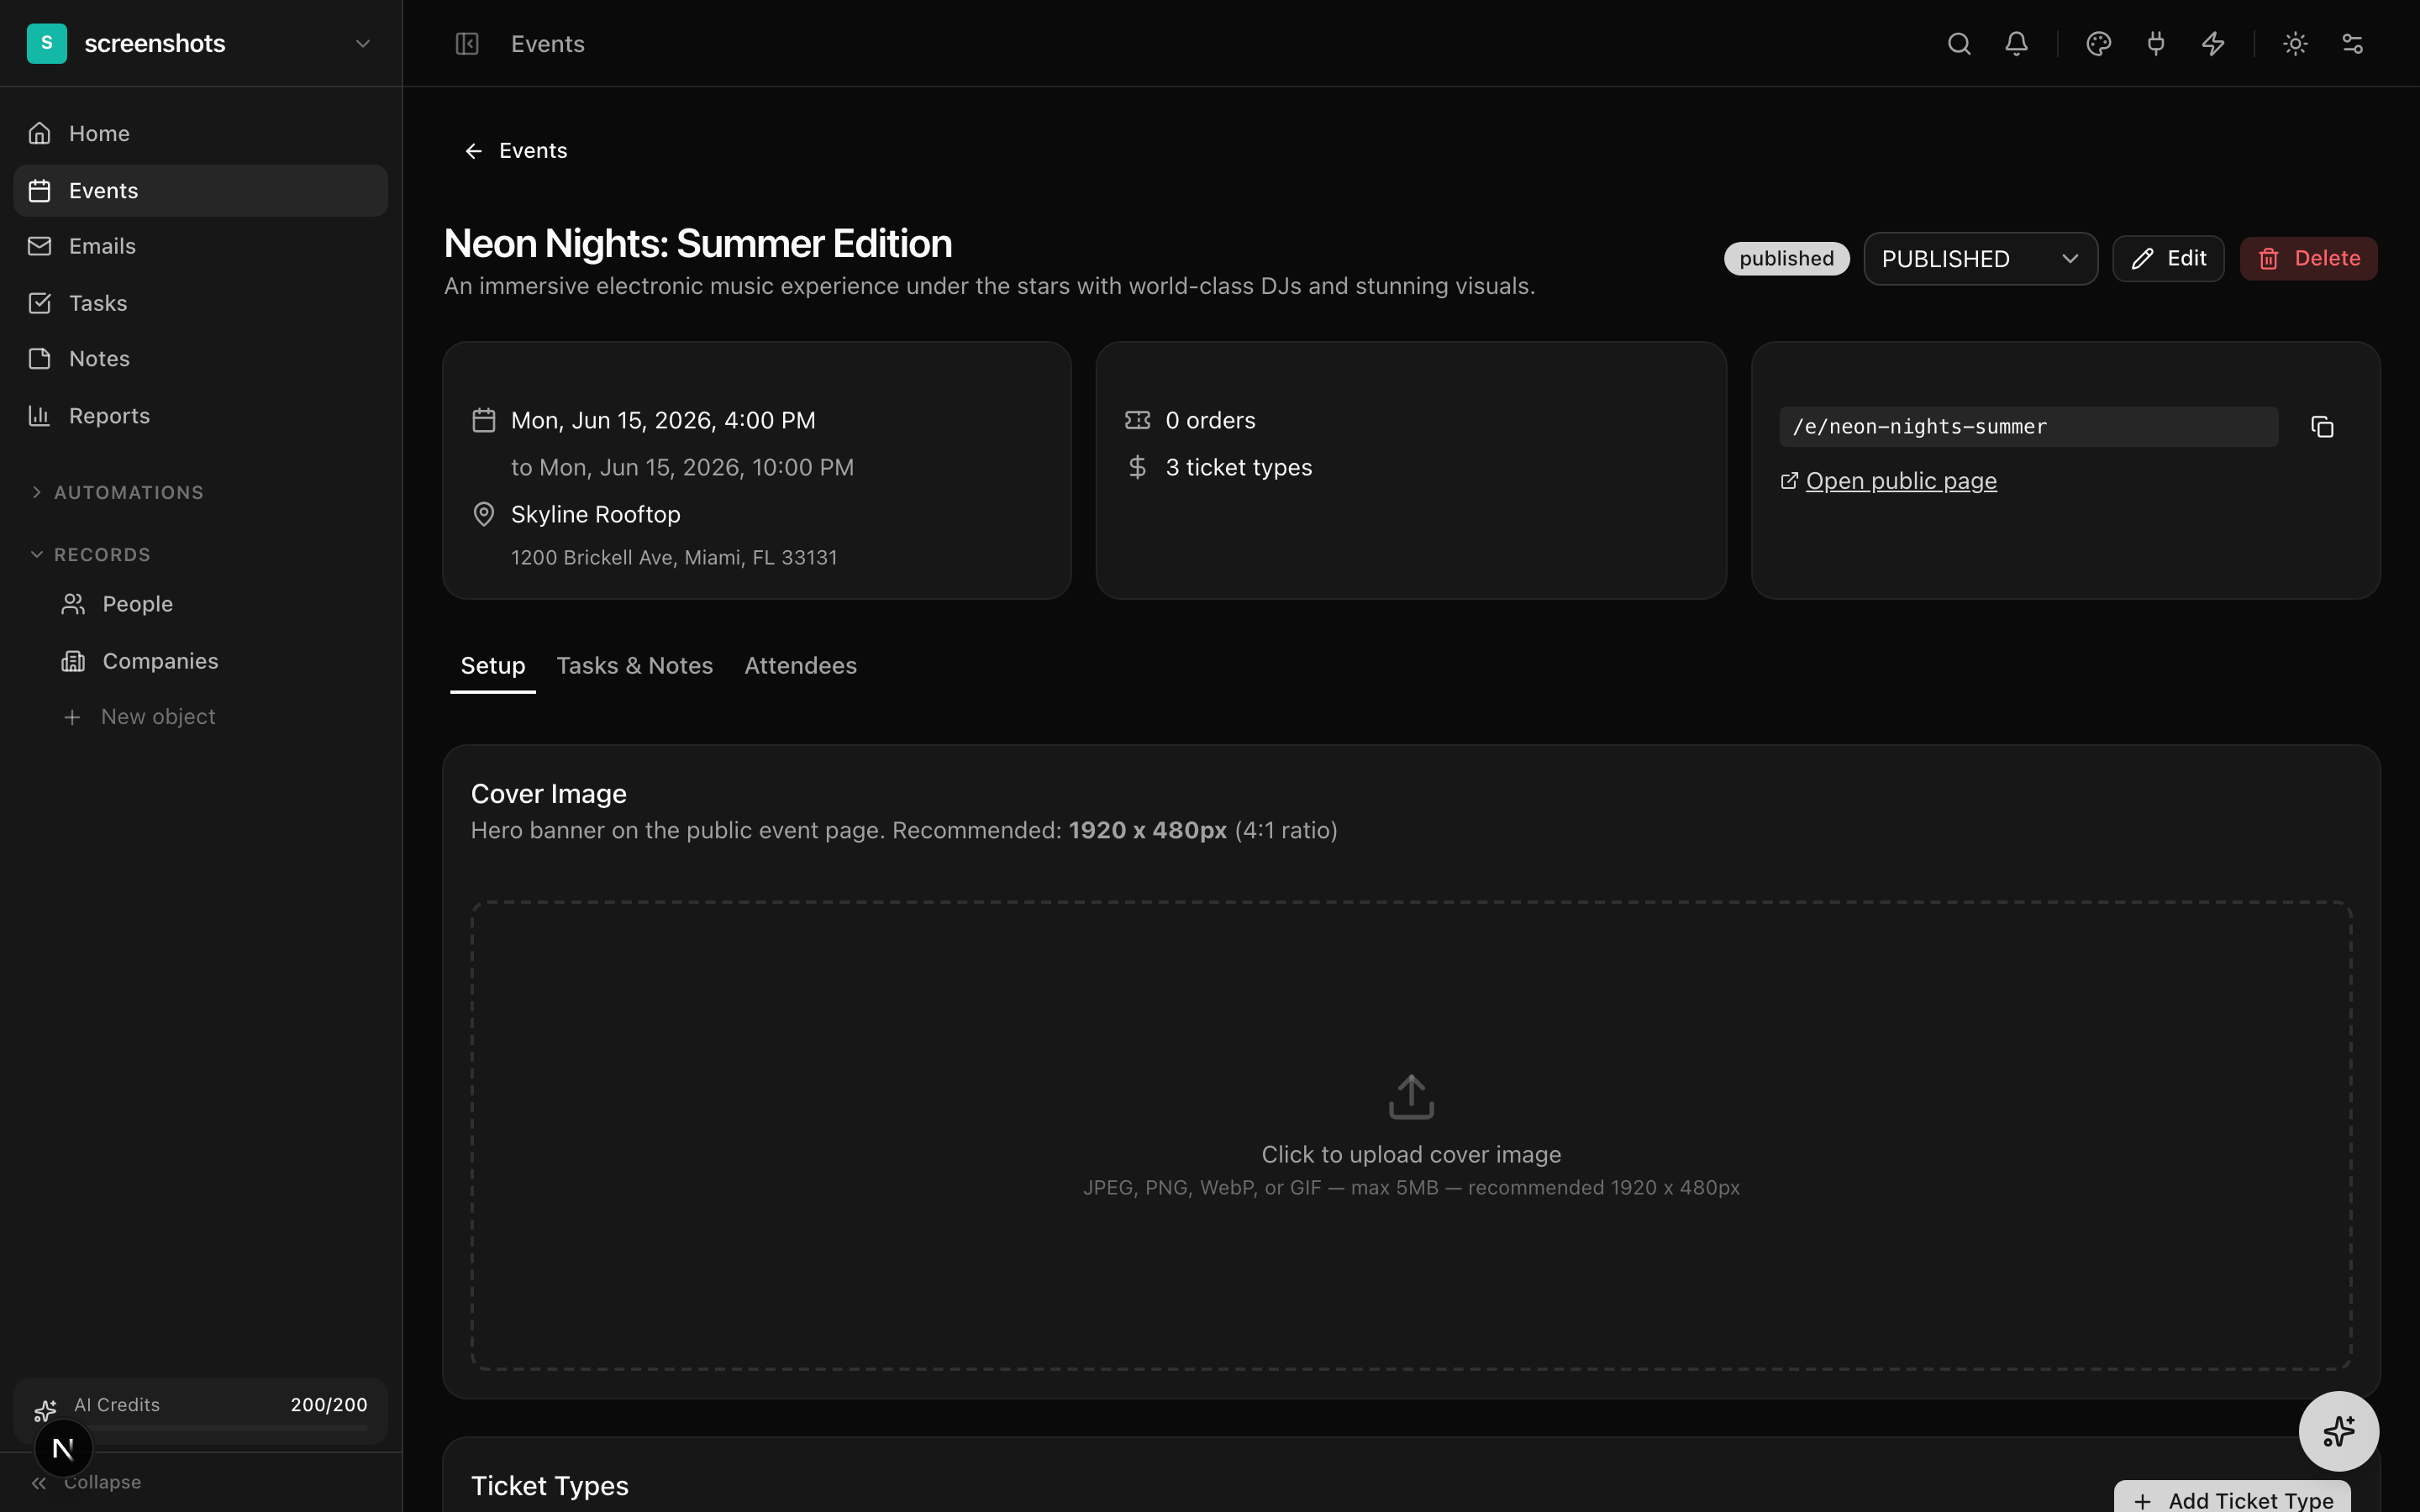
Creating Events
Events are the foundation of Modality's ticketing and promotion features. Each event has its own public page, ticket types, order management, and analytics.
How to Create an Event
- 1
Navigate to Events
Click "Events" in the sidebar. The events list shows all your events with their status, dates, ticket counts, and revenue.
- 2
Click "New Event"
Enter the basic event information: title, description (supports rich text), start and end date/time, timezone, and venue name with optional address.
- 3
Add event media
Upload a cover image and optional gallery images. Add artist/performer lineup with names, bios, and profile images. Embed Spotify or Apple Music tracks for featured artists.
- 4
Configure ticket types
Add one or more ticket types with individual pricing, capacity, and descriptions. See the Ticket Types section below for details.
- 5
Publish
Events start as DRAFT. When ready, change the status to PUBLISHED to make the public event page live and enable ticket sales.
Ticket Types
Each event can have multiple ticket types to offer different experiences or pricing tiers.
How to Add a Ticket Type
- On the event detail page, scroll to the "Ticket Types" section.
- Click "Add Ticket Type."
- Enter a name (e.g., "General Admission," "VIP," "Early Bird").
- Set the price in USD. Enter 0 for free tickets.
- Set the capacity — the maximum number of tickets available for this type.
- Add an optional description explaining what is included.
- Click Save. The ticket type is immediately available on the public event page.
Managing Ticket Inventory
The event detail page shows real-time ticket availability for each type: tickets sold, tickets remaining, and revenue generated. When a ticket type sells out, it appears as "Sold Out" on the public page but other ticket types remain available.
Public Event Pages
Published events get a public page at /e/your-event-slug. These pages are designed to convert visitors into ticket buyers.
What the Public Page Includes
- Hero section — cover image, event title, date, and venue
- Description — rich text event description with formatting
- Artist lineup — performer cards with photos, bios, and music embeds (Spotify, Apple Music)
- Ticket selection — ticket type cards with pricing, descriptions, quantity selectors, and "Get Tickets" CTA
- Venue details — venue name, address, and optional map
The page slug is auto-generated from the event title but can be customized in the event settings. Share the URL via social media, email campaigns, or embed it on your website.
Visual Page Editor
The visual page editor lets you customize your public event page with a drag-and-drop interface. Rearrange sections, toggle visibility, and preview on desktop and mobile viewports — all without writing code.
Section Types
The editor supports 10 section types that you can add, reorder, and toggle on or off:
- Tickets — ticket type cards with pricing, descriptions, and quantity selectors
- Description — rich text event description
- Lineup — artist/performer cards with photos, bios, and music embeds
- Gallery — image gallery with lightbox viewing
- Organizer — organizer info with logo and description
- Venue — venue name, address, and optional map
- RSVP — RSVP form for free events or interest collection
- Guest List — public guest list showing attendees
- Reviews — testimonials and reviews from past attendees
- Comments — comment section for community discussion
Theme Customization
The Theme tab in the editor lets you customize the visual appearance of your event page. Set custom colors, fonts, upload a logo, and choose a cover image — all pulling defaults from your brand kit. Changes preview in real-time on the editor canvas.
Viewport Preview
Toggle between desktop and mobile viewport previews to see how your event page looks on different screen sizes. The editor canvas resizes to match the selected viewport.
Inline Editing
Manage content directly within the editor. Add, edit, and remove tickets, artists, and gallery images without leaving the page editor. Section visibility toggles let you hide sections without deleting their content.
Checkout and Payments
How Checkout Works
- The buyer selects ticket types and quantities on the public event page.
- They enter their name and email address in the checkout form.
- For paid tickets, they are redirected to Stripe's hosted checkout page to complete payment securely.
- For free tickets, the order is completed immediately without Stripe.
- After successful payment (or free checkout), the buyer is redirected to a confirmation page showing their order details and ticket QR codes.
- A confirmation email is sent automatically with ticket details and QR codes attached.
QR Code Tickets and Check-In
Each ticket receives a unique QR code after purchase. At the event door:
- Staff scan the QR code using any camera or QR code reader app.
- The QR code links to the check-in endpoint, which verifies the ticket is valid.
- If valid, the ticket status changes to "USED" and a success confirmation is shown.
- If the ticket has already been used, an error is displayed to prevent duplicate entry.
- If the ticket is invalid or cancelled, an appropriate error message is shown.