Lists
Organize people into targeted groups for email campaigns, automations, and audience management. Lists are the primary way to segment your contacts in Modality.
Creating and Managing Lists
Lists can be created from multiple places throughout the platform. Each list belongs to your workspace and can contain any number of people.
How to Create a List
- 1
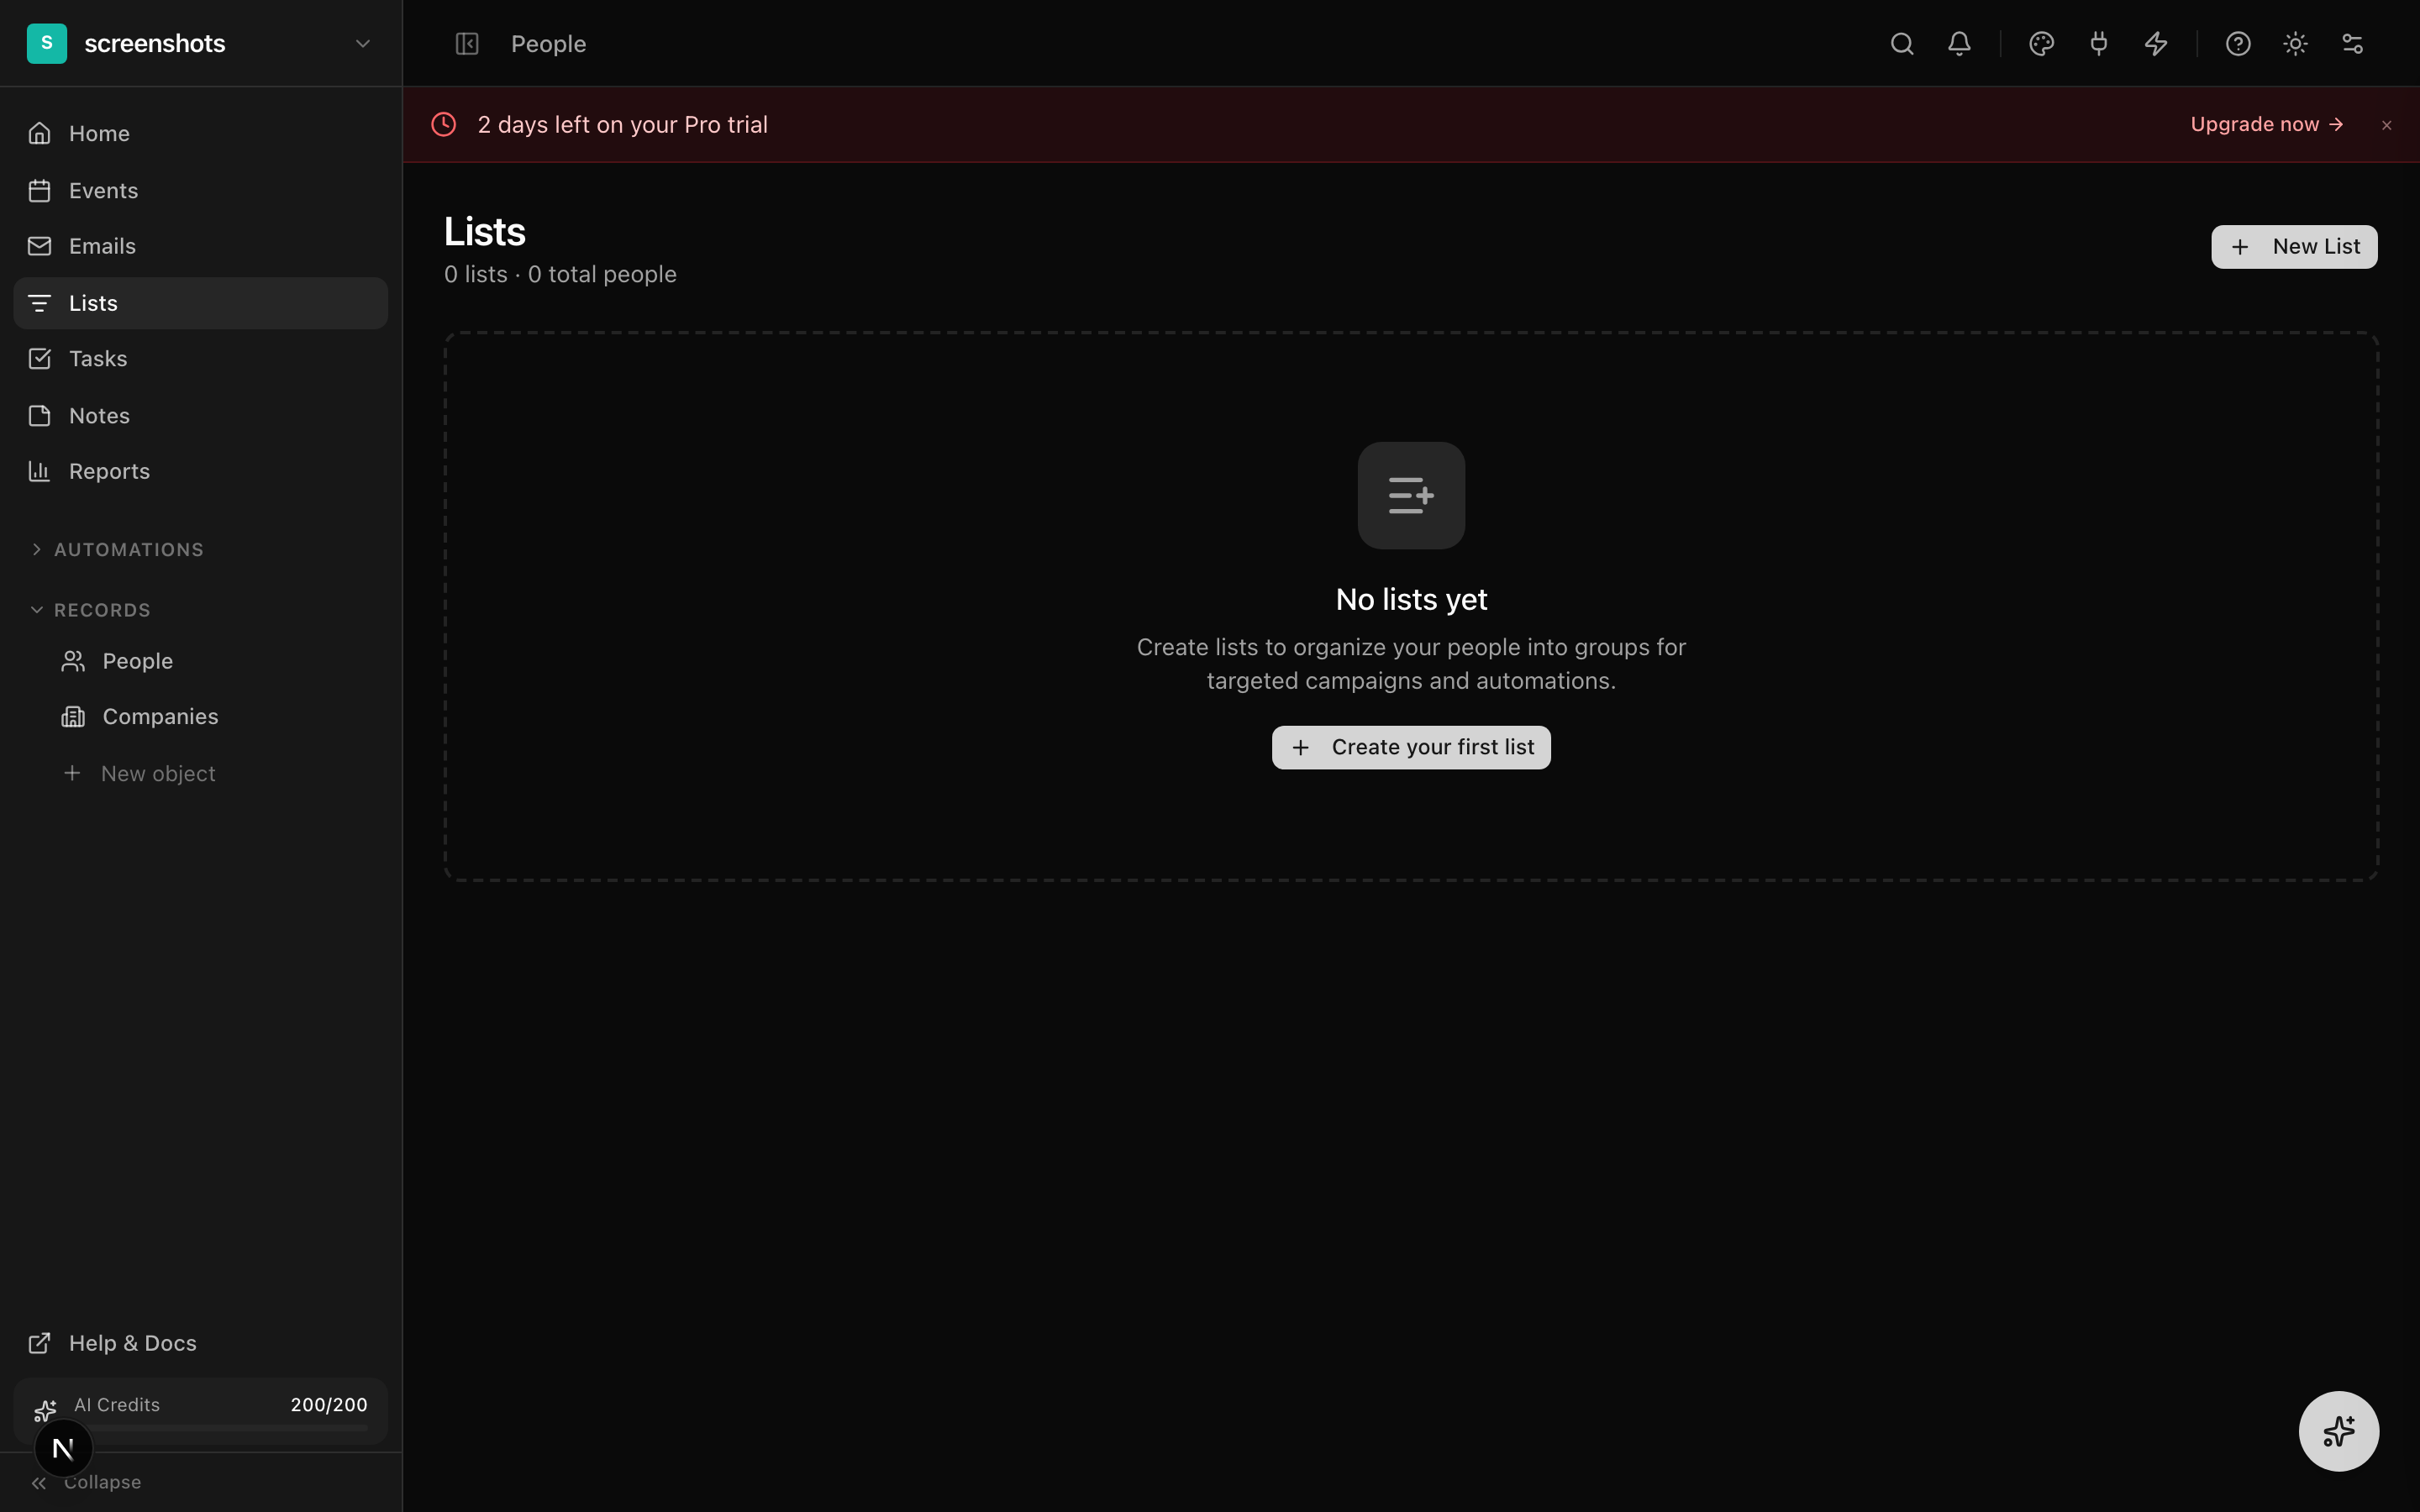
From the Lists page
Navigate to Lists in the sidebar. Click "New List" and enter a name and optional description. The list is created empty and ready for members.
- 2
From the People table toolbar
Select one or more rows in the People table, click "Lists" in the toolbar, and type a new list name. Press Enter to create the list and add the selected people simultaneously.
- 3
Inline from campaign recipients
When configuring a campaign's Recipients section, click the list dropdown and select "Create new list." Name the list and it is available immediately as a recipient target.
Managing List Members
Click any list on the Lists page to open its detail view. From here you can:
- Add people — use the searchable people picker to find and add individual contacts
- Bulk add from the People table — select rows on the People page, click Lists, and choose the list
- Remove people — click the remove icon next to any member in the list detail view
- Export members — download all list members as a CSV file
Using Lists in Campaigns
Lists are the primary audience selection mechanism for email campaigns. Here is how they work together:
How to Target a List in a Campaign
- Open a campaign and expand the "Recipients" section of the checklist.
- Click the audience dropdown and select "Send to a list."
- Choose one or more lists from the dropdown. The recipient count updates in real time.
- People who appear in multiple selected lists receive the email only once (automatic deduplication).
- Unsubscribed and bounced contacts are automatically excluded from the send, even if they are in the list.
Automating List Membership
Use automations to automatically add people to lists based on their actions:
- Form submitted → Add to "Newsletter Subscribers" list
- Ticket purchased → Add to "Event Attendees" list
- Tag added → Add to "VIP Contacts" list
- Date approaching → Add to "Renewal Reminders" list
This keeps your lists up-to-date without manual management, ensuring your campaigns always reach the right audience.
Lists vs Tags
Both lists and tags let you organize people, but they serve different purposes:
- Lists are for audience targeting. They are designed to be used as campaign recipients and have dedicated management pages with member counts, export, and bulk operations.
- Tags are for categorization and filtering. They are lightweight labels that can be used in table filters, automation conditions, and visual organization. A person can have many tags.
In practice, use tags for descriptive metadata ("VIP," "speaker," "2024-attendee") and lists for actionable groups ("Newsletter," "Event Promo," "Onboarding Sequence").